How To Make A Rainbow Butterfly

This craft activity might seem obvious to some, to others they'll think "I remember doing this as a child!" and it may be complete nonsense to the rest of you. Either way, it's such a lovely and simple activity that I wanted to share it.

Remember as a child when you did those Christmas cards or firework pictures involving cut-outs in black sugar paper and ripped tissue paper? Basically it's that! I saw it late last night on Mini-Eco and she explained it so beautifully that I found myself cutting out a butterfly on navy card (no black!) at half past midnight! (She's even got a template to use)

You'll need:

  • coloured tissue paper
  • black card with shapes cut out
  • glue

I am not going to explain any further because it's so simple it's unbelievable! Just make sure you leave it to dry completely before trimming around the edges.

We love it, and it looks so effective with the sun shining through that I'm going to do a bumblee and a dragonfly too.

Sciencesparks3

How To Paint Monet's Waterlillies With Children

The rather inspiring RedTedArt has started a new project up and it is one that I was happy to jump on board with straightaway. She would like us to investigate the Great Artists with our children and see what art work we can help them create based on the painting that we've explored.

I've discussed this with Maggy and her plan is not to set a theme or artists to study each time, apart from the first post where she's intending to give us the suggestion of Jackson Pollock. He's a bit modern and out there for me and I wasn't initially bitten by this idea, but since she suggested it I've thought some more and will join in. However, there is one that screamed out loud to me that I had to pick as my first project and Maggy approved.

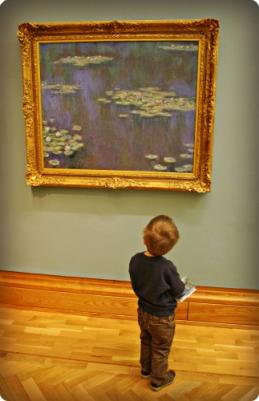
You see in the National Museum of Wales' art gallery is this beauty:

Monet's waterlillies for children

How on earth could I refuse the call of an original Monet?

And so a few weeks ago we popped into Cardiff on the train, trekked over to the museum and sat down and read Laurence Anholt's children's book about Monet: The Magical Garden of Claude Monet. It was incredibly quiet there that day, just a few 'ladies what lunch' having a saunter, and an elderly, deaf attendant who watched us reading and looking at the painting before coming over to chat to us.

The Boy loved looking at the painting but the magnificence and significance of it, and his surroundings completely escaped him. Because let's face it, he's two and it's just some splodges of paint really.

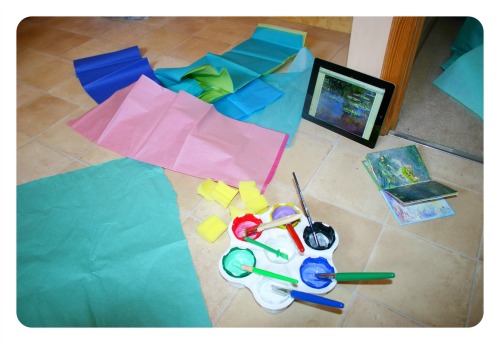
However, since then, he hasn't stopped 'reading' the book to himself and chatting about when we went to the museum. Admittedly, sometimes he's waffling on about the dinosaurs we saw, but generally the event sunk in. And so on the weekend we settled down in the kitchen with a plethora of materials and an image of the painting (thank you iPad).

Monet's waterlillies for childrenAs a class teacher, art lessons consist of me pointing to the art cupboard and the different paper types on the shelf and allowing the children to select for themselves. The Boy is two so I'd provided him with a selection of paint colours, paper colours and types for him to choose from, but I was still controlling the materials. As he gets older, he'll have more choice.
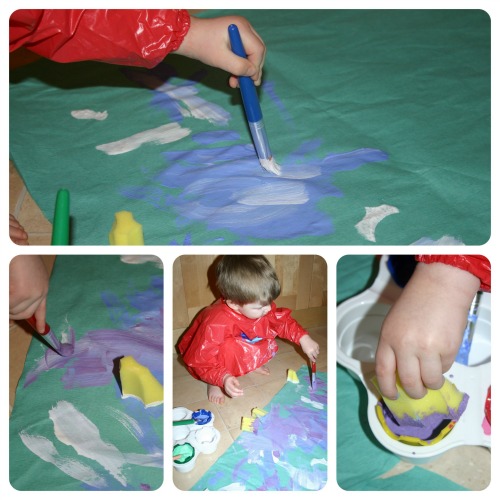
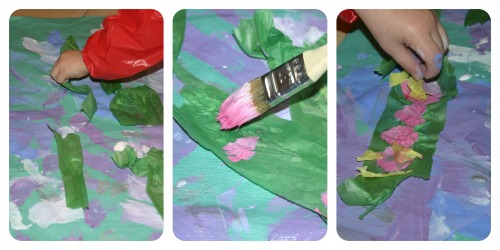
We discussed the colours in the painting, the brush strokes and what he could see. Then he had a go himself.

Monet's waterlillies for children

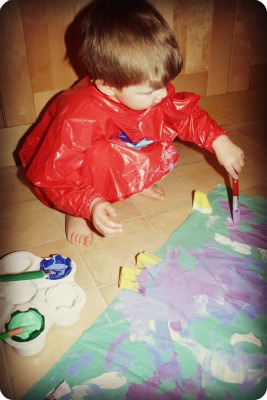
He experimented with different brush strokes and use of the sponge.

Monet's waterlillies for children

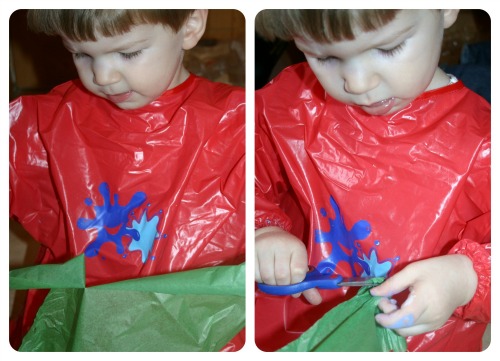
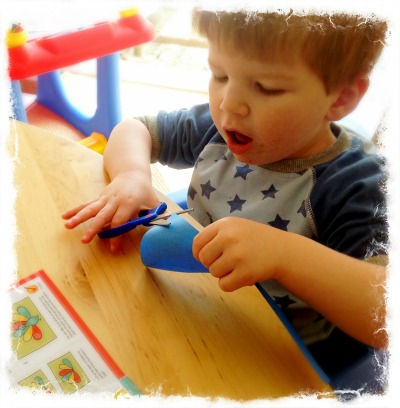
He got to practise his scissor, and ripping, skills.

Monet's waterlillies for children

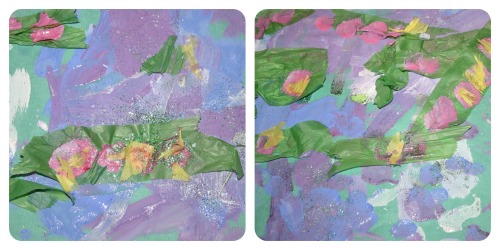
He used collage materials for the leaves and then painted the lillies on top.

Monet's waterlillies for childrenAnd then, because Monet didn't have it but we both know he'd have used it if he could have, we sprinkled on glitter to make the water sparkle!
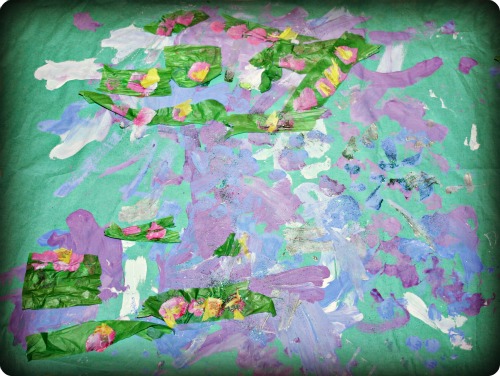
Monet's waterlillies for children

What do you think of our masterpiece?

I'm linking this up to RedTedArt's Great Artists.

Red Ted Art

Rainbow Weaving (Scrap Art)

A fortnight ago, I read this post about scrap centres from The Alexander Residence. It reminded me about the recycling centre that I used to visit when I was training to be a nursery nurse, and I wondered if sixteen years later, it was still going. It is, and it's been improved. I had a little think about what activity we could do using the resources that we'd be able to find there.

Then the next day, a post from the Goddess that is Cathy at The Nurture Store popped into my inbox about the new Kids Art Explorers' Challenge. The theme was paper-free art, and suddenly I knew exactly what I was going to be doing with The Boy.

His favourite song at the moment is the 'Mo-mo' song from 'Show Me, Show Me'. We both pretend to be robots, put on our best mechanical voice and do robot arms while singing about the colours of the rainbow. It's quite amusing and I'm trying to get it on video to post, but he runs away screaming whenever I produce the FlipCam lately.

When we finally managed to get to our local scrap centre we had great fun delving in all the bins, finding treasures, discussing what we could use them for, getting over excited with various materials that we had no use for (let alone space) and saving oodles and oodles of dosh.

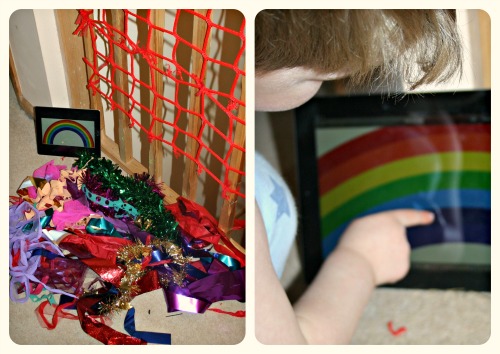
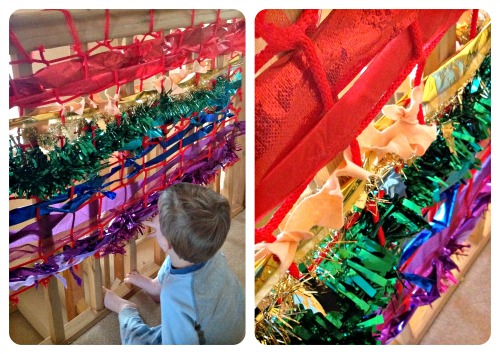
Originally I'd intended to do this activity on the patio using the bamboo fence. But it's currently submerged in eleventy billion feet of water so I tied netting up against the bannister upstairs on the landing and we did the activity there instead.

I knew the iPad was an essential educational tool! We gathered our resources together, examined a reference picture and discussed which colours we needed. An interesting discussion about what colour indigo is ensued and then a discussion about the difference between that and violet. Try and explain hues to a two year old.

Life became a lot easier for both The Boy and me once I'd remembered he is left-handed and realised that threading from left-right was causing him issues. One of the many things that need reversing when teaching a left-hander.

Admiring our handiwork and our beautiful rainbow!
This was a really enjoyable activity and The Boy loves sitting and feeling the different textures in the rainbow along with singing Mo-mo's song. The total cost of the resources for the activity was £1. (Just ignore the cost of the iPad)

You can search for your own nearest scrap centre here.

I'm linking this up to The Nurture Store's Kids Art Explorers Project.

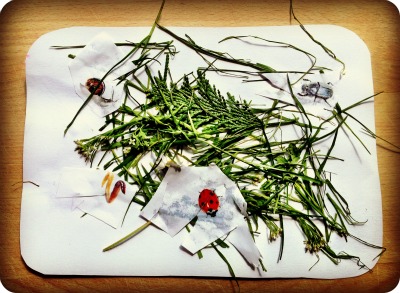
Tuesday 24th April 2012 – 'Garden Craft' (115/366)

I took The Boy to see a new playgroup (nursery really) today. He only goes one day a week at the moment and only then since January. When we signed up to the one he uses, it was the middle of Winter and I didn't think about the fact that it hasn't got any outdoor space. Now the Summer is (apparently) on its way, I want him to be able to play outside and enjoy himself. Furthermore, I've just discovered him singing "Jesus' love is very wonderful" and as he's not Christened for a reason, I can only assume he's learnt it in one place.

While I was having a look around, he made this with one of the nursery nurses. He starts there next week!

Crafty Corner: Easter Cards

Last week I went into school on the Wednesday intending to teach my Wednesday morning Year One class R.E. and ended up making Easter cards with them; a change that I was all too happy to make. I'm much happier helping the five and six year olds make cards for their mummies and daddies than waffling on about the role of authority figures.

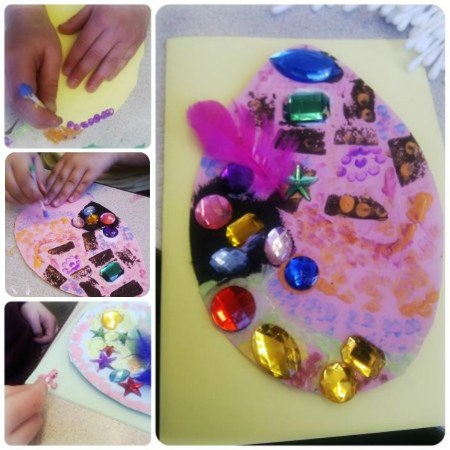
This is what we ended up making together, all I did for them was the springs which the eggs were mounted on.

I loved the simplicity of the cards and how much of it was done by the children, so I decided to adapt the idea to make Easter cards with The Boy.

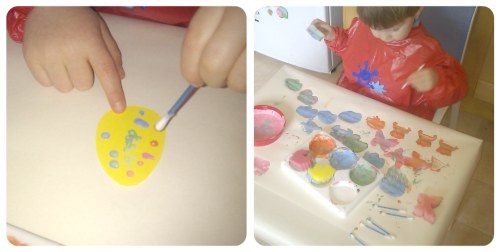
I cut out some small egg shapes, grabbed a handful of cotton buds, some paint and sponges, coloured sticky strips and off we went.

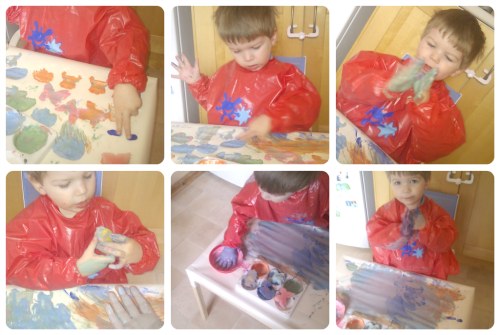
The Boy coped really well with using the cotton buds to dot the paint on and absolutely loved the sponges (chicken and sheep) to dab the paint on. In fact he got carried away and sponge printed all over the table.

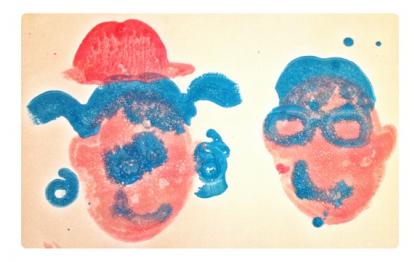
And that's when it descended into chaos. You see The Boy doesn't like getting messy and I decided to use a little sensory play and painting without brushes (inspired by The Nurture Store) to try and cure him of it.

Look at that face in the last picture, butter wouldn't melt!

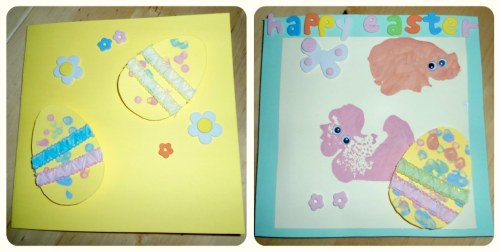
Oh and the cards?

They turned out ok didn't they?

I'm linking this up to the fabulous Kids Art Explorers on The Nurture Store, pop over and check out the other link-ups.


Sciencesparks3

Chick In A Basket (Guest Post)

The Boy and I (see I can be grammatically correct when needed!) love craft activities, and I am always on the look-out for new ideas. I was recently browsing the Internet looking for some coloured sand when I came across the Baker Ross site. I already knew about it through my teacher alter-ego but hadn't thought to look there before. I was pleasantly surprised to find a whole load of craft activities for Winter and Spring, and bought a whole load of craft materials that we're currently working our way through.

In this guest post from James Christie (who writes for Baker Ross), you'll find simple instructions on how to make a very cute Easter chick.

How children can craft a chick-in-a-basket

Easter isn’t far away but there is still time for kids to make some super Easter crafts. The cheerful Easter character baskets that this article will explain how to create, are fantastic gifts and look great when displayed at home or in the classroom.

Put the items mentioned below in your Easter shopping basket and you will be ready to begin.

  • 3D Easter Character Foam Kits – a pack of 4 currently (as of 8th March 2012) costs £3.80
  • Super Strong Multi-Purpose Silicone Glue – £3.98 for a pack of two and £10.50 for a pack of six
  • Mini Glue Dots – £2.99 for a box of 300

All these items are available from kids arts and crafts company Baker Ross and don’t forget to have a pair of children’s spring-loaded scissors to hand. This piece of equipment will make sure that kids can happily cut away with ease – you can get a pair for under a pound.

There are two designs in the kit and this article will concentrate on hatching a plan to make the chick-in-a-basket. Reading out the following instructions to your children might help them with this task.

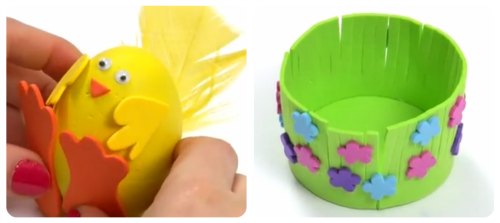
Firstly, take the green-fringed strip of foam and the green circle and apply silicone glue around the rim of the circle. Press the fringing around it to create the basket (as below).


You will need to trim off any excess foam so that your basket has a neat perimeter.

While your basket’s glue is drying you can pick up the yellow egg shape and glue your chick’s orange webbed feet to the base.

Once the feet are in place, give the chick wings by gluing some on top.

Your chick is now ready to fly but how will it see? It’s time to stick the adhesive wiggle eyes near the dome of the yellow egg. I love the way the eyeballs wobble whenever the chick is moved!

After a little triangular orange beak is added, the chick is only missing one vital component – its feathers. So, take a big yellow feather and put it on the chick’s spine – it’s really ready to shake a tail feather now!

You might think the task is finished now and it almost is. It’s time to return your attention to the green basket; hopefully it’s dried by now. Inside your kit you will find three sheets of foam flowers with different colours on them. Pop these out of their sheets, peel off the back and adorn your basket with them. Don’t forget to press down firmly so they don’t fall off.

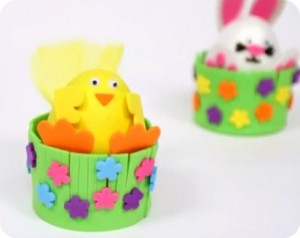
Lower your chick into its comfy basket home and stand back to admire this excellent Easter piece of art. The chick might well look a little lonely sitting in its basket on its own so why not make a bunny-in-a-basket to go with it?

Have a great Easter!

You can find all the Easter Craft Essentials your kids need at the Baker Ross site.

Here's an easy video tutorial of the process

This is a guest-post

Related Posts Plugin for WordPress, Blogger...