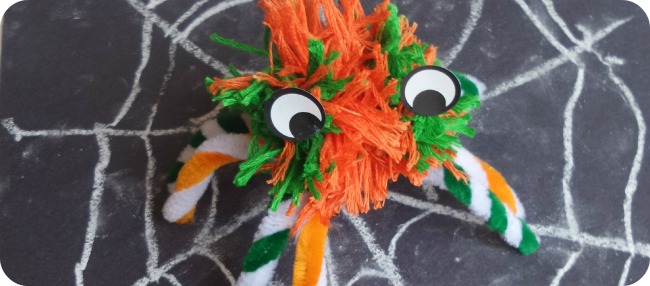
Pompom Craft: Spooky Spiders
When I was a child I used to love making pompoms, and have been eagerly waiting for The Boy to have the fine motor skills to get him started on them as well. I've recently spotted a lot of Christmas crafts on Pinterest using pompoms, but decided to make a more seasonal first attempt with The Boy.
Hallowe'en At Hendrewennol
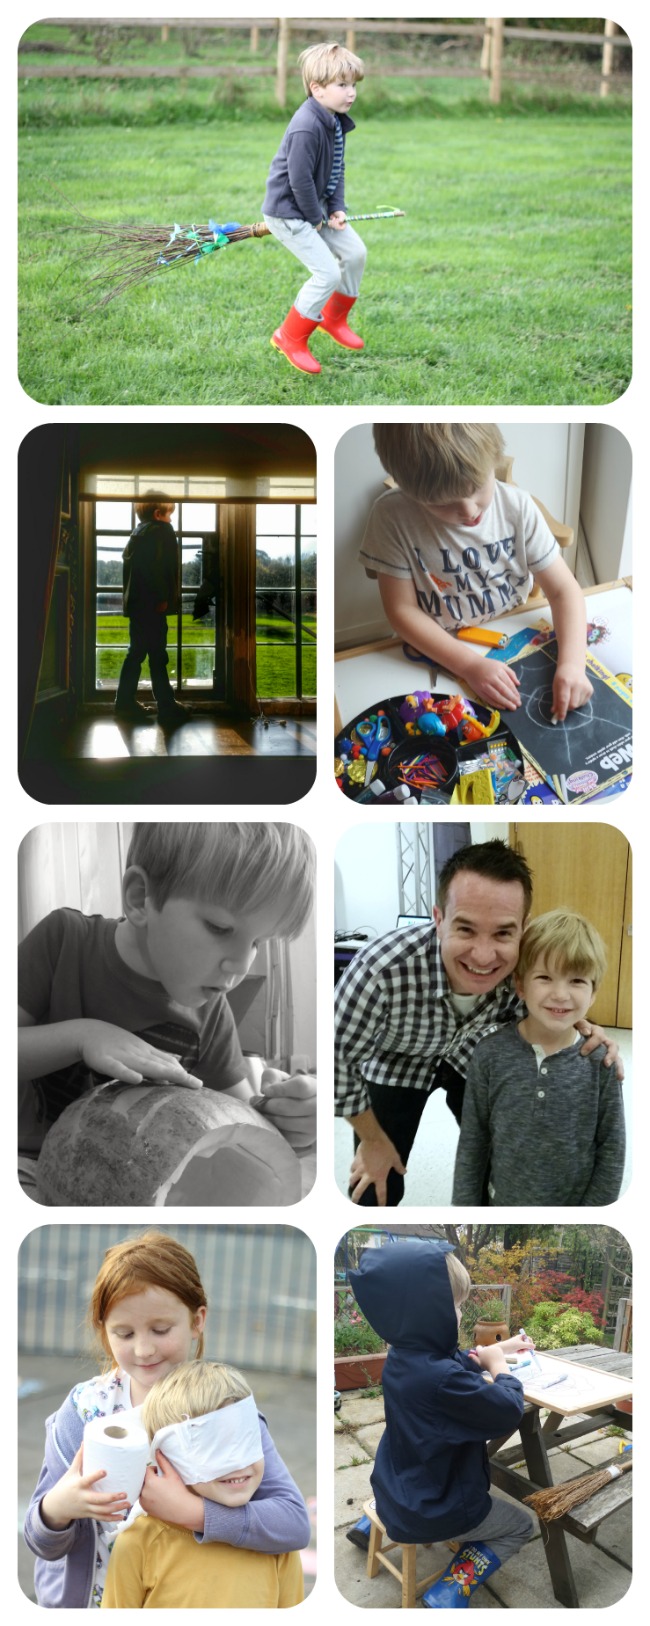
When you find somewhere that works for you as a family, it can be easy to over-visit and wear out your enthusiasm for the place. Hendrewennol is our new favourite place but we're quite fortunate that as it's a pick-your-own fruit farm it is quite seasonal and therefore we can't overdo our visits. We've visited several times this year; for Easter, fruit picking, exploring the maize maze, and pumpkin picking, but this weekend we went to take part in the haunting Hallowe'en activities which the owners had laid on.
Throwing A Spectacular Halloween Party For Children
Halloween is an exciting time of the year for the young ones. The breeze starts to cool, pumpkins appear on the shelves, and the front porch features life-size Frankenstein inflatable decorations.
Halloween is just the occasion to unlock children’s imaginations, while treating everyone to homemade goodies, and having fun while doing so. All these elements can be incorporated in a Halloween party that is as fun for the children to enjoy as it is for you to plan.
Making Bunting With The Cricut Mini
I was recently sent a Cricut Mini Personal Electric Cutter which is a rather exciting new craft toy, especially for me. Finding time for me to do some craft has been quite tricky, especially as I always seem to be coming up with new creations with The Boy, but I decided that Hallowe'en was the perfect time to explore what the Cricut could do.
So what is a Cricut?
A Cricut is a cutting machine, similar to a printer in the way that it transfers an image to paper, but rather than laying ink down on the paper in lines the Cricut cuts the paper where the ink lines would be. The Cricut website states that 'You can cut images and fonts on cardstock, vinyl, vellum, fabric, chipboard, and even thin foil at sizes as small as ¼" and as large as 11 ½".' There is an adhesive, A4 cutting mat which the material is pressed down onto in order to hold it in place making it easier for the rounded blade to cut it.
I decided to have a go at making a strand of Hallowe'en bunting to hang in the porch to show the local children we were prepared for trick or treaters (shame I didn't anticipate how many would call, and had to end up dishing out ten Smarties per child from The Boy's chocolate stash!).
The first step when using the Cricut is to install the software for the 'Craft Room', this then loads up an image of the cutting mat, along with the available 'cartridges' (designs and templates which the Cricut can cut out). There is a basic cartridge available with the machine which includes an alphabet, some basic seasonal shapes, one or two card and gift tag projects; certainly enough to be going on with for the novice Cricut crafter.
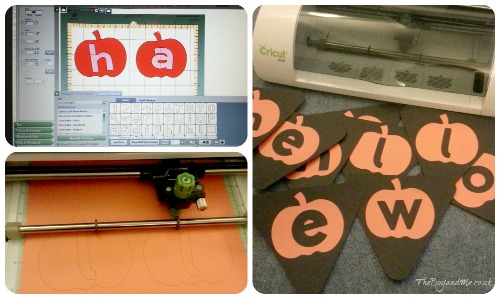
Adding an image to the Craft Room is easily done by clicking on it, then resizing or rotating as needed. I decided to go for a simple pumpkin on orange paper with the letters spelling 'Hallowe'en' in the middle of each one. As these were to be stuck onto black card, the letters were going to be a negative space to provide a contrasting and striking effect. The Cricut cut all the shapes out with minutes and it was simply a case of carefully removing the letters.
The important thing about the Cricut is to adjust the settings for the thickness of the material being used, if it's not set for the right thickness then it won't cut all the way through effectively. Likewise, if the paper is too thin and the thickness is set to maximum then it can tear the edges. Luckily, I spotted that very quickly and a minor adjustment saw a perfect dye-cut through the paper and card.
Finally I glued the pumpkin letters onto the black card, threaded some green ribbon through the holes and hung it in the porch alongside a huge array of pumpkins.
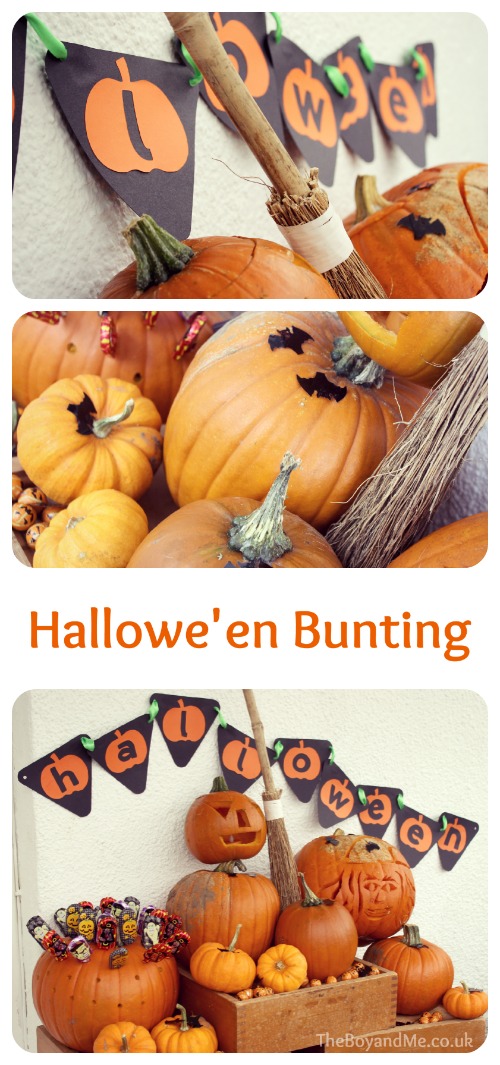
No wonder all the local children came calling!
—
I was sent the Cricut Mini Personal Electric Cutter for review, my opinions and ideas are my own and honest.
Mini Stuffed Pumpkins
When we went pumpkin picking recently, we may have been over enthusiastic in the amount of orange gourds that we returned with, particularly those described as 'munchkins'.
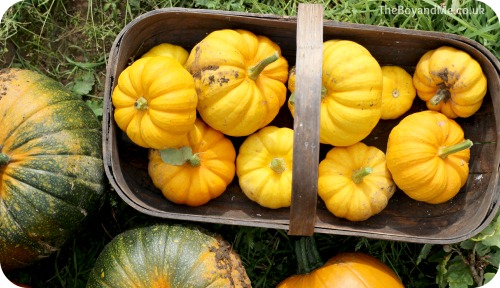
Straight away I knew what I wanted to do with them; far too perfect to not be enjoyed whole, they were crying out to be stuffed with a delicious vegetarian concoction.
Mini Stuffed Pumpkins
- Makes: 1 pumpkin serves 1 person, multiply for the right amount of 'guests'
- Preparation time: 20 minutes
- Cooking time: 35-45 minutes
Ingredients
- munchkin pumpkins, 1 for each person
- a knob of butter
- 3 blocks/pellets of frozen spinach
- 1tbsp mascarpone
- small block of blue cheese (matchbox size), crumbled
- black pepper for seasoning
- basmati rice mixed with mediterranean vegetables (peppers, courgette, onions, etc)
- grated parmesan
You'll also need:
- a sharp knife
- metal, circular (pastry) cutter
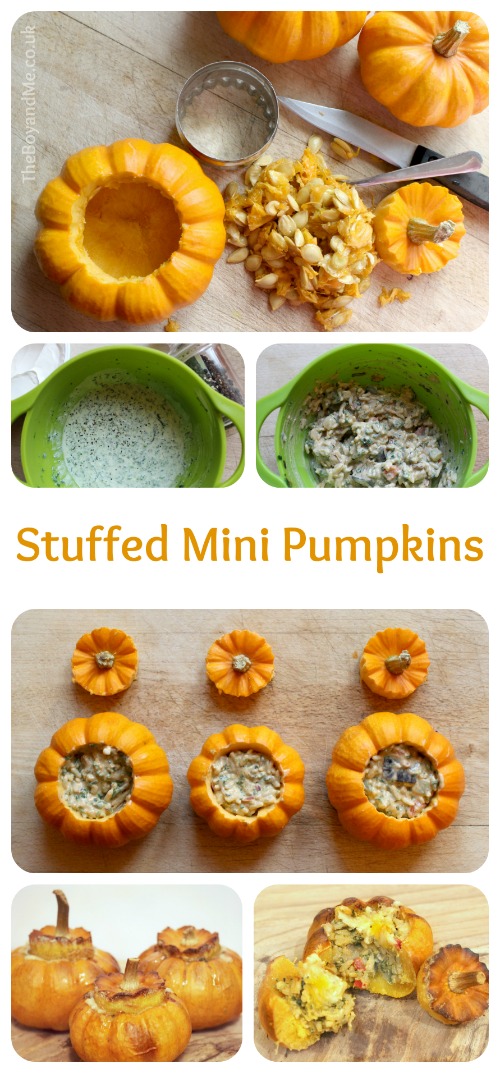
- Press the cutter down into the top of the munchkin pumpkin to mark out the area to be cut, then carefully cut down into the hollow centre of the pumpkin all the way around the circle. I am a little clumsy with a knife, so actually hammered the cutter down to cut through the tough exterior, then used the knife to prise the lid off.
- Remove the lid and scoop out all the pith and seeds. Slice the pith and seeds from the bottom of the lid.
- Wilt the frozen spinach with butter in the microwave for one minute. Stir through the mascarpone cheese and season with black pepper.
- Crumble in the blue cheese and fold in the rice mixture.
- Divide the mixture between the pumpkins up to the bottom ledge of the lid area. (This will allow expansion space for the rice as it cooks).
- Replace the lid loosely and place on a baking tray. Place this baking tray on a large and deep baking tray with water in, this will help keep the pumpkin moist as it is roasting.
- Cook in the oven on 190°C/375°C/Gas Mark 5 for 35-45 minutes until the pumpkin's sides are soft to the touch.
- Remove the lid and sprinkle on some grated parmesan. Replace the lid and return the over for a further two minutes for the cheese to melt.
- Serve with salad for a light lunch, or with spring green vegetables and a chicken breast/grilled tofu.
—
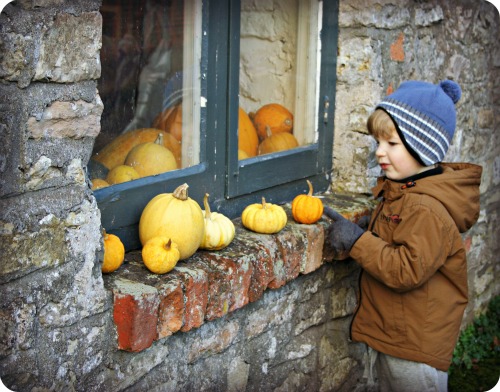
Saturday 10th November 2012 – 'On The Windowsill' (315/366)
Flashback Friday: Spooky Bangs!
This week's theme for Flashback Friday is Hallowe'en, however I'm bending the rules slightly and including Bonfire Night as well.
I relish any opportunity to dress The Boy up, but as he gets older and develops his own personality, I'm not particularly welcomed with open arms when I wave a cutesy costume at him.
However when he was 18 months old, that was a completely different matter!
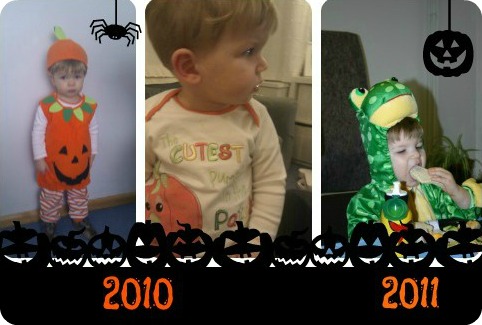
I'm hoping to get The Gruffalo costume on him at Christmas time!
This weekend we're off to the annual Sparks In The Park in the ground of Cardiff Castle. Last year we left it to late to gain access but were directed to an excellent spot by the university building which would give a great view. However, it's not the same if you're not in with the thousands of people who are all freezing and queueing for the portaloos together, so I've prebought our tickets.
Our first time at a firework display was two years ago, and The Boy was way more interested in the falling leaves and trying to glue them back on to the trees, than any shooty-whizzy-swirly-flashes in the sky.

I look at these pictures and he looks so tiny and babylike, yet it seems like yesterday!
—
Linked up to Flashback Friday at Mummy Mishaps and Real Housewife of Suffolk County
Lego Heads (Review)
A few months ago, The Boy received his first batch of Lego to play with and was quite enthusiastic about it. Admittedly he's still quite young for proper-sized Lego at the moment, but it's actually the first time he seems to have shown an interest in construction; conventional toddler building blocks did nothing for him at all.
However, last week we were sent some amazing giant Lego storage solutions which have been designed and created by Room Copenhagen (under license from Lego). They have developed a range of giant Lego head tubs and storage blocks to save mums and dads the world over from suffering 'stepping-on-Lego-bricks-with-bare-feet-itis' (a well known condition affecting parents).
To celebrate Hallowe'en, The Boy was sent the small Pumpkin head and Skeleton head, and a black storage box.

As you can see, one of the best features of them is that they actually stack on top of each other just like the 'real' Lego blocks. The Boy was completely enamoured with the storage heads and block, and has put all of his Lego into the black box with the heads on top.
The problem is, he doesn't have very much Lego at the moment…
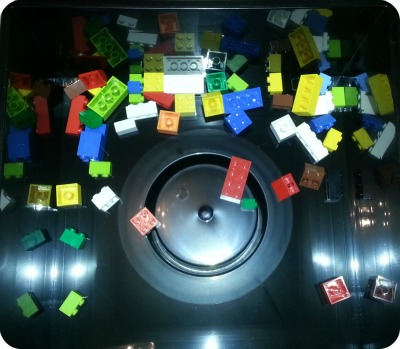
… I'm sure that will change in time, and the box will be overflowing!
We were sent these products for the purpose of this post. My opinion is honest and unbiased.
Show Me Your Pumpkins!
It's that time of year for all things ghoulish and spooky. We've never really 'celebrated' (seems the wrong word somehow) Hallowe'en before as The Boy has a low tolerance for anything vaguely malevolent and asks a hell of a lot of questions. Yesterday at St. Fagan's outdoor museum in Cardiff, there was a fantastic scene set up for the Hallowe'en festivities, but of course there was fake blood and skeletons strewn everywhere. How do you explain that to a three year old who's asking what the bones are for?
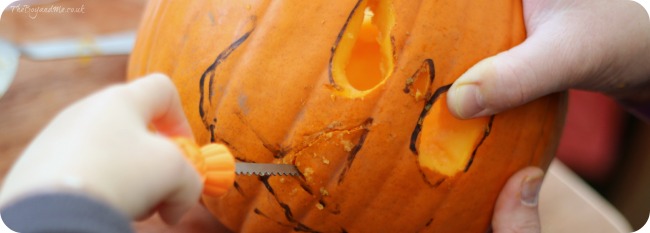
However, one of the best bits of Hallowe'en for children is pumpkin carving, and this year we had a go at it for the first time ever!
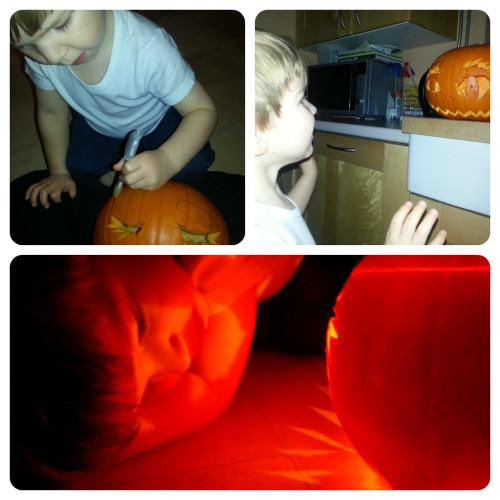
The Boy drew the outline of the eyes on and the position of the mouth, I did the rest. He was completely and utterly captivated by the finished product and as a result, I have to go and buy another pumpkin tomorrow to carve another one out!
This was our finished pumpkin!
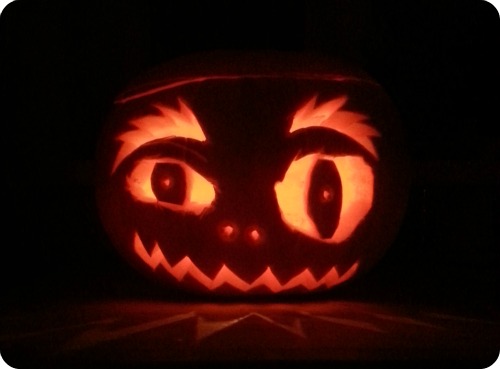
What do you think?
Instagram and twitter are full of everyone's fantastic carvings at the moment, and so I thought I'd set up a linky for you to show off your pumpkins! Pumpkin carving seems to bring out the artist in all of us.
Please join in below with your carvery skills, show off your witches, wizards, ghouls and goblins.
If you don't have a blog, link up the Instagram or twitpic URL.


