How To Make A Stick Picture Frame

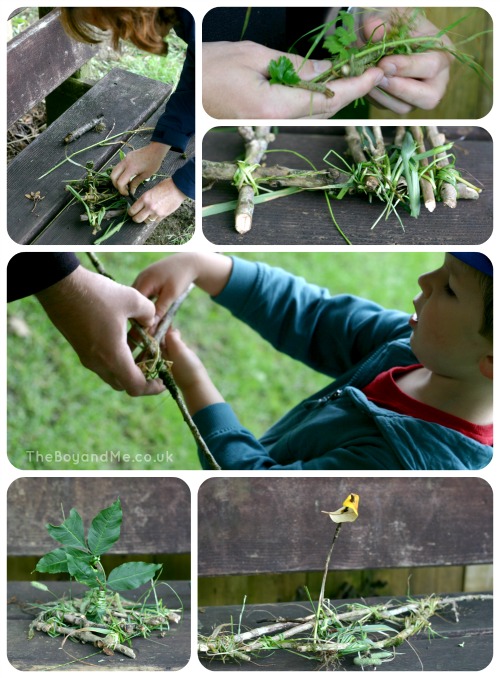
On a recent trip to one of Britain's finest arboretums, I took our trusty craft bag with us for when I would be presented with the obligatory sticks. The place was full of wonderful vistas and so I suggested to The Boy that he collect me four sticks of equal length and a variety of interesting treasure to decorate our finished product.

How To Make A Picture Frame

You'll need:

  • 4 sticks of equal length, or 2 pairs of sticks of equal length
  • natural string
  • collection of leaves, conkers and pine cones to decorate the frame
  • Swiss army knife

Encourage children to only choose twigs and natural 'treasures' found on the floor, creating a respect for the natural world.

  1. Lay the four sticks for the frame on top of each other to create a square. Carefully wind a length of string around each of the joins, overlapping and winding from one corner to the other. This will hold them in place.
  2. Complete for each corner, winding any extra string along the sides which will help create somewhere to secure the 'treasures'.
  3. Tie a selection of pine cones to the frame and thread leaves and flowers through the string.
  4. To attach conkers, I pierced a hole through the fruit to thread jewellery wire through and wind it onto the frame.
  5. Tie some string from two corners to create a loop to hang it from a tree in your garden at home!

How To Make A Stick Picture Frame

  • This activity is great for:
    • fine motor skills and hand-eye co-ordination; winding the string around the sticks.
    • design skills; how can we join the sticks together? Can we find items to make it look attractive?
    • communication; questioning and discussion.
    • self-esteem; achievement!
    • having FUN!

'Create some wild art' is #18 on the National Trust's list of 50 Things To Do Before You're 11&¾
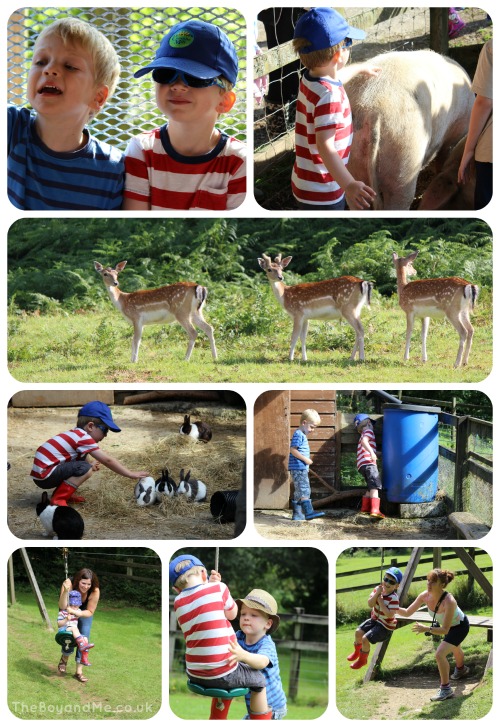

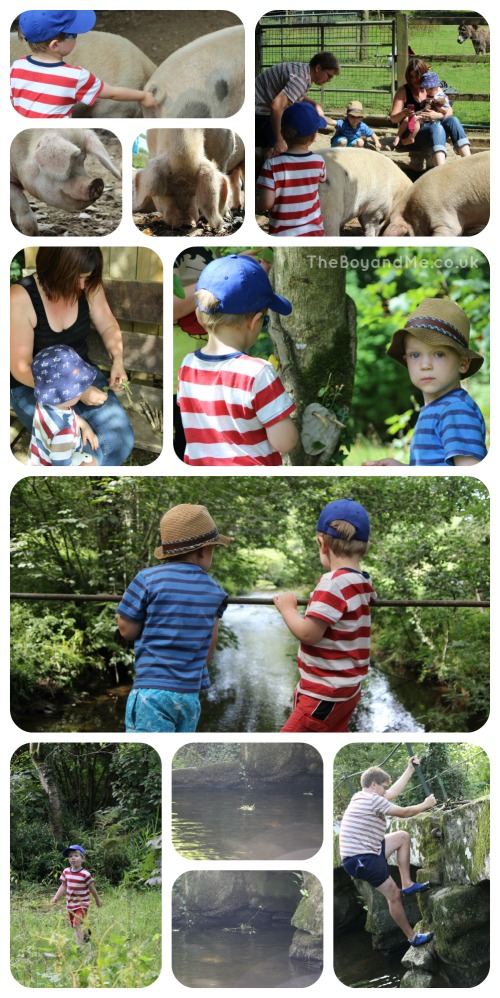
Country Kids Of All Ages At Coombe Mill

We've been having the time of our lives this week in Coombe Mill. It is one of the most magical place I've ever been to. One of my happy places; all of us have it as our happy place. The photos and the words of those who write about it can never do the farm or grounds justice. Coombe Mill is more than just a farm holiday, it's about re-engaging with each other and enjoying time as a family, re-engaging with nature and the wonders of the world that we live in, and re-engaging with our lost selves during the chaos of everyday life.

Until you've experienced it, it's hard to understand Coombe Mill's magic.

That's why I was really eager to have the motley crew from Mummy Mishaps down for a day during our stay, and the fabulous Fiona was only too happy to agree and welcome them with open arms.

And we've had the best day of our holiday so far because we have stayed on site and done nothing but play. That goes for the 'grown-ups' as well as the children, even Fiona said herself that she had done nothing all day but "rediscover my own farm through the eyes of others!"

We started with the 9am feed run where the deer behaved themselves wonderfully and showed up out from the forest, and then progressed onto one of the adventure play parks having refreshed on cake and drinks at Fiona's house.

Country Kids of all ages at Coombe Mill 1

Once the zipwire was exhausted from the boys' efforts, we enjoyed a picnic on the green in front of our lodge next to the River Camel, before taking our scraps up to Dotty and Piglet. The poor things were fast asleep in their sty until I clanged the bucket at them and the promise of orange peel, bread rolls and egg shells was too great for them to stay dozing.

Following our own mini feed run, it was time to indulge in a spot of wood craft where we made our own stick rafts to sail down the river, and forest faces to adorn the trees of Coombe Mill before heading into the river to sail our rafts in a competition between Jenny and Mr. TBaM.

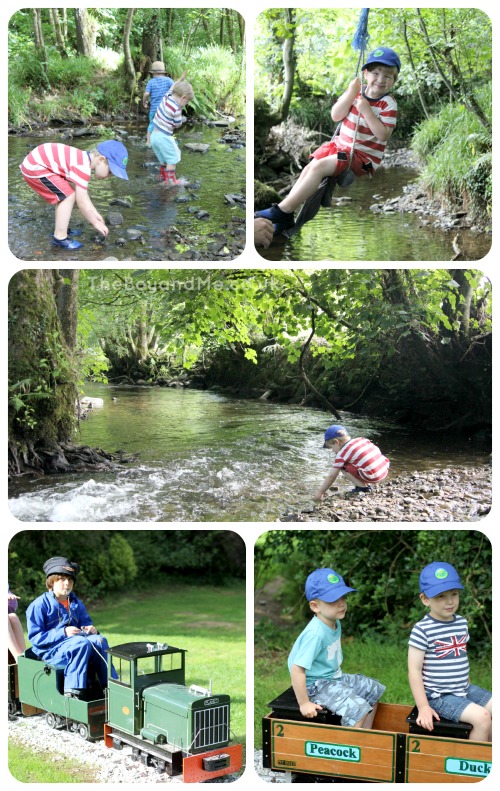
Country Kids of all ages at Coombe Mill 2

Once we'd retrieved the rafts from the river, it was time to explore the more shallow parts of the river and Coombe Mill's very own little island (in the stream). Both The Boy and Burton had a go on the rope swing hung from the tree, while we all enjoyed throwing pebbles and seeing how far they could go in the rapids!

A quick snack and shower saw all the boys dressed in clean and dry clothes with one more treat of a train ride before the Mummy Mishaps bunch had to head home. It was a marvellous day, thanks to our wonderful friends and the idyllic setting.

Country Kids of all ages at Coombe Mill 3

Jenny won by the way!

Raft Races On The River Camel! (Country Kids)

Sometimes an idea for an activity pops into my head and I don't realise how much fun it is going to be until it evolves organically.

And this one definitely evolved organically!

Several months ago I read on Coombe Mill about the Easter raft race that some of the guests had organised. Knowing that we had a break coming up in August, I filed the idea somewhere in the depths of my mind, and it was jolted out when I bought a book about sticks a few weeks back. All of a sudden, the one activity that we had to do when we arrived was build a small wooden raft.

I packed lolly sticks and natural string just in case, ever prepared for all eventualities!

At 5pm, we tootled over to have a ride on the train and I was joined by Fiona to watch her little boy drive my little one around the lawn. We chatted about our day and I explained that at some point I wanted to make a raft to sail on the river. A few minutes later and distracted by a climbing child who wanted to go in the castle, I found myself joined by the lady herself who wanted to have a go at making a raft. Bang went the theory of using string, as Fiona suggested we use grass reeds to join the sticks. This is the raft that I made.

However, we were also joined by Mr. TBaM who was determined to make one as well. His first raft was smothered in mud and he was instructed by The Boy to leave it in the sun to dry. As it had rained for two days, that was never going to happen, so he ditched that raft and they joined forces, deserting me!

Making a stick raft

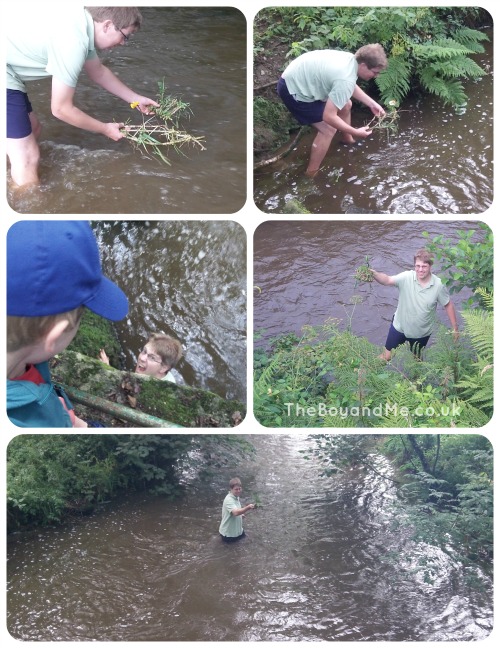
Then once we'd made our rafts, we went back to the lodge to change; swimshorts and beach shoes for the boys as they were going to wade in to release the rafts. The river had been rather swollen so The Boy stood on the side holding my hand while Mr. TBaM valiantly ventured into the murky, freezing depths to release the rapid-riders!

Making a stick raft

Much hilarity ensued as we competed for the best raft. Despite mine being the most beautiful and well put together, his actually sailed the best down the river. We climbed back up the banks, running alongside it to see how well they were both doing, where we were rejoined by Fiona and Clio who wanted to see our rafts in action, and another couple of guests who were curious as to what was going on. Needless to say, my beautiful raft became caught in the overhanging growth, while Mr. TBaM's sailed merrily under the bridge, once he'd set it straight again.

And because my darling husband loves me, he waded back up the river to find my raft and saved it from overhanging branches not once, but twice, sending it on its way to join its companion over the rapids of the River Camel!

Learning for Life

How To Make A Stick Raft (#43)

Making a raft is an easy activity to do with children, although their age determines exactly how much input you give. The Boy is four years and two months old and quite good with fiddly and intricate things, but making this raft was more about him helping me, than me helping him. Now he knows how to do it, the situation will reverse.

This activity is completely organic, both in the way that it happened, and the materials we used!

How To Make A Stick Raft

You'll need:

  • 4 sticks of equal length for the frame
  • around 8-10 sticks of the same length as those for the frame to create the bed of the raft
  • long grass reeds/stems
  • 1 large leaf or a frond of leaves for the sail
  • 1 stick for the mast
  1. Lay the four sticks for the frame on top of each other to judge size. Carefully wind a long grass reed around each of the join, overlapping and winding from one corner to the other. This will hold them in place. Complete for each corner.
  2. Once the frame is completed, fix each stick to the frame to make the bed of the raft, winding the grass over in a cross fashion as above. Continue until the base is covered, there will be gaps in between each stick.
  3. Use one stick as the mast and a large leaf as the sail. Make two small holes to push the mast through. We actually tied a large frond of leaves to the mast instead.
  4. Insert into a gap in between two of the sticks, carefully wrap grass around to fix it into place.
  5. The raft is ready for sailing!

How To Make A Stick Raft

  • This activity is great for:
    • fine motor skills and hand-eye co-ordination; winding the grass around the sticks.
    • design skills; How can we join the sticks together?
    • problem-solving; Did the raft float or sink? Why? Did it get caught on anything?
    • communication; questioning and discussion.
    • self-esteem; achievement!
    • having FUN!

It is also one of the activities on the National Trust 50 Things To Do Before You're 11&¾ list: #43: Build A Raft!
Country Kids


Related Posts Plugin for WordPress, Blogger...